Creating a personalised 12V Leisure system
I spent a long time planning the best way to install a 12V leisure system in my truck. I wanted everything efficiently spaced to allow for easy servicing while maximising internal space.
The system was installed in two stages. Initially, I designed it to make adding electrical components (lights, plug sockets, etc.) easy to add later down the line.
November 2024 - Initial Install:
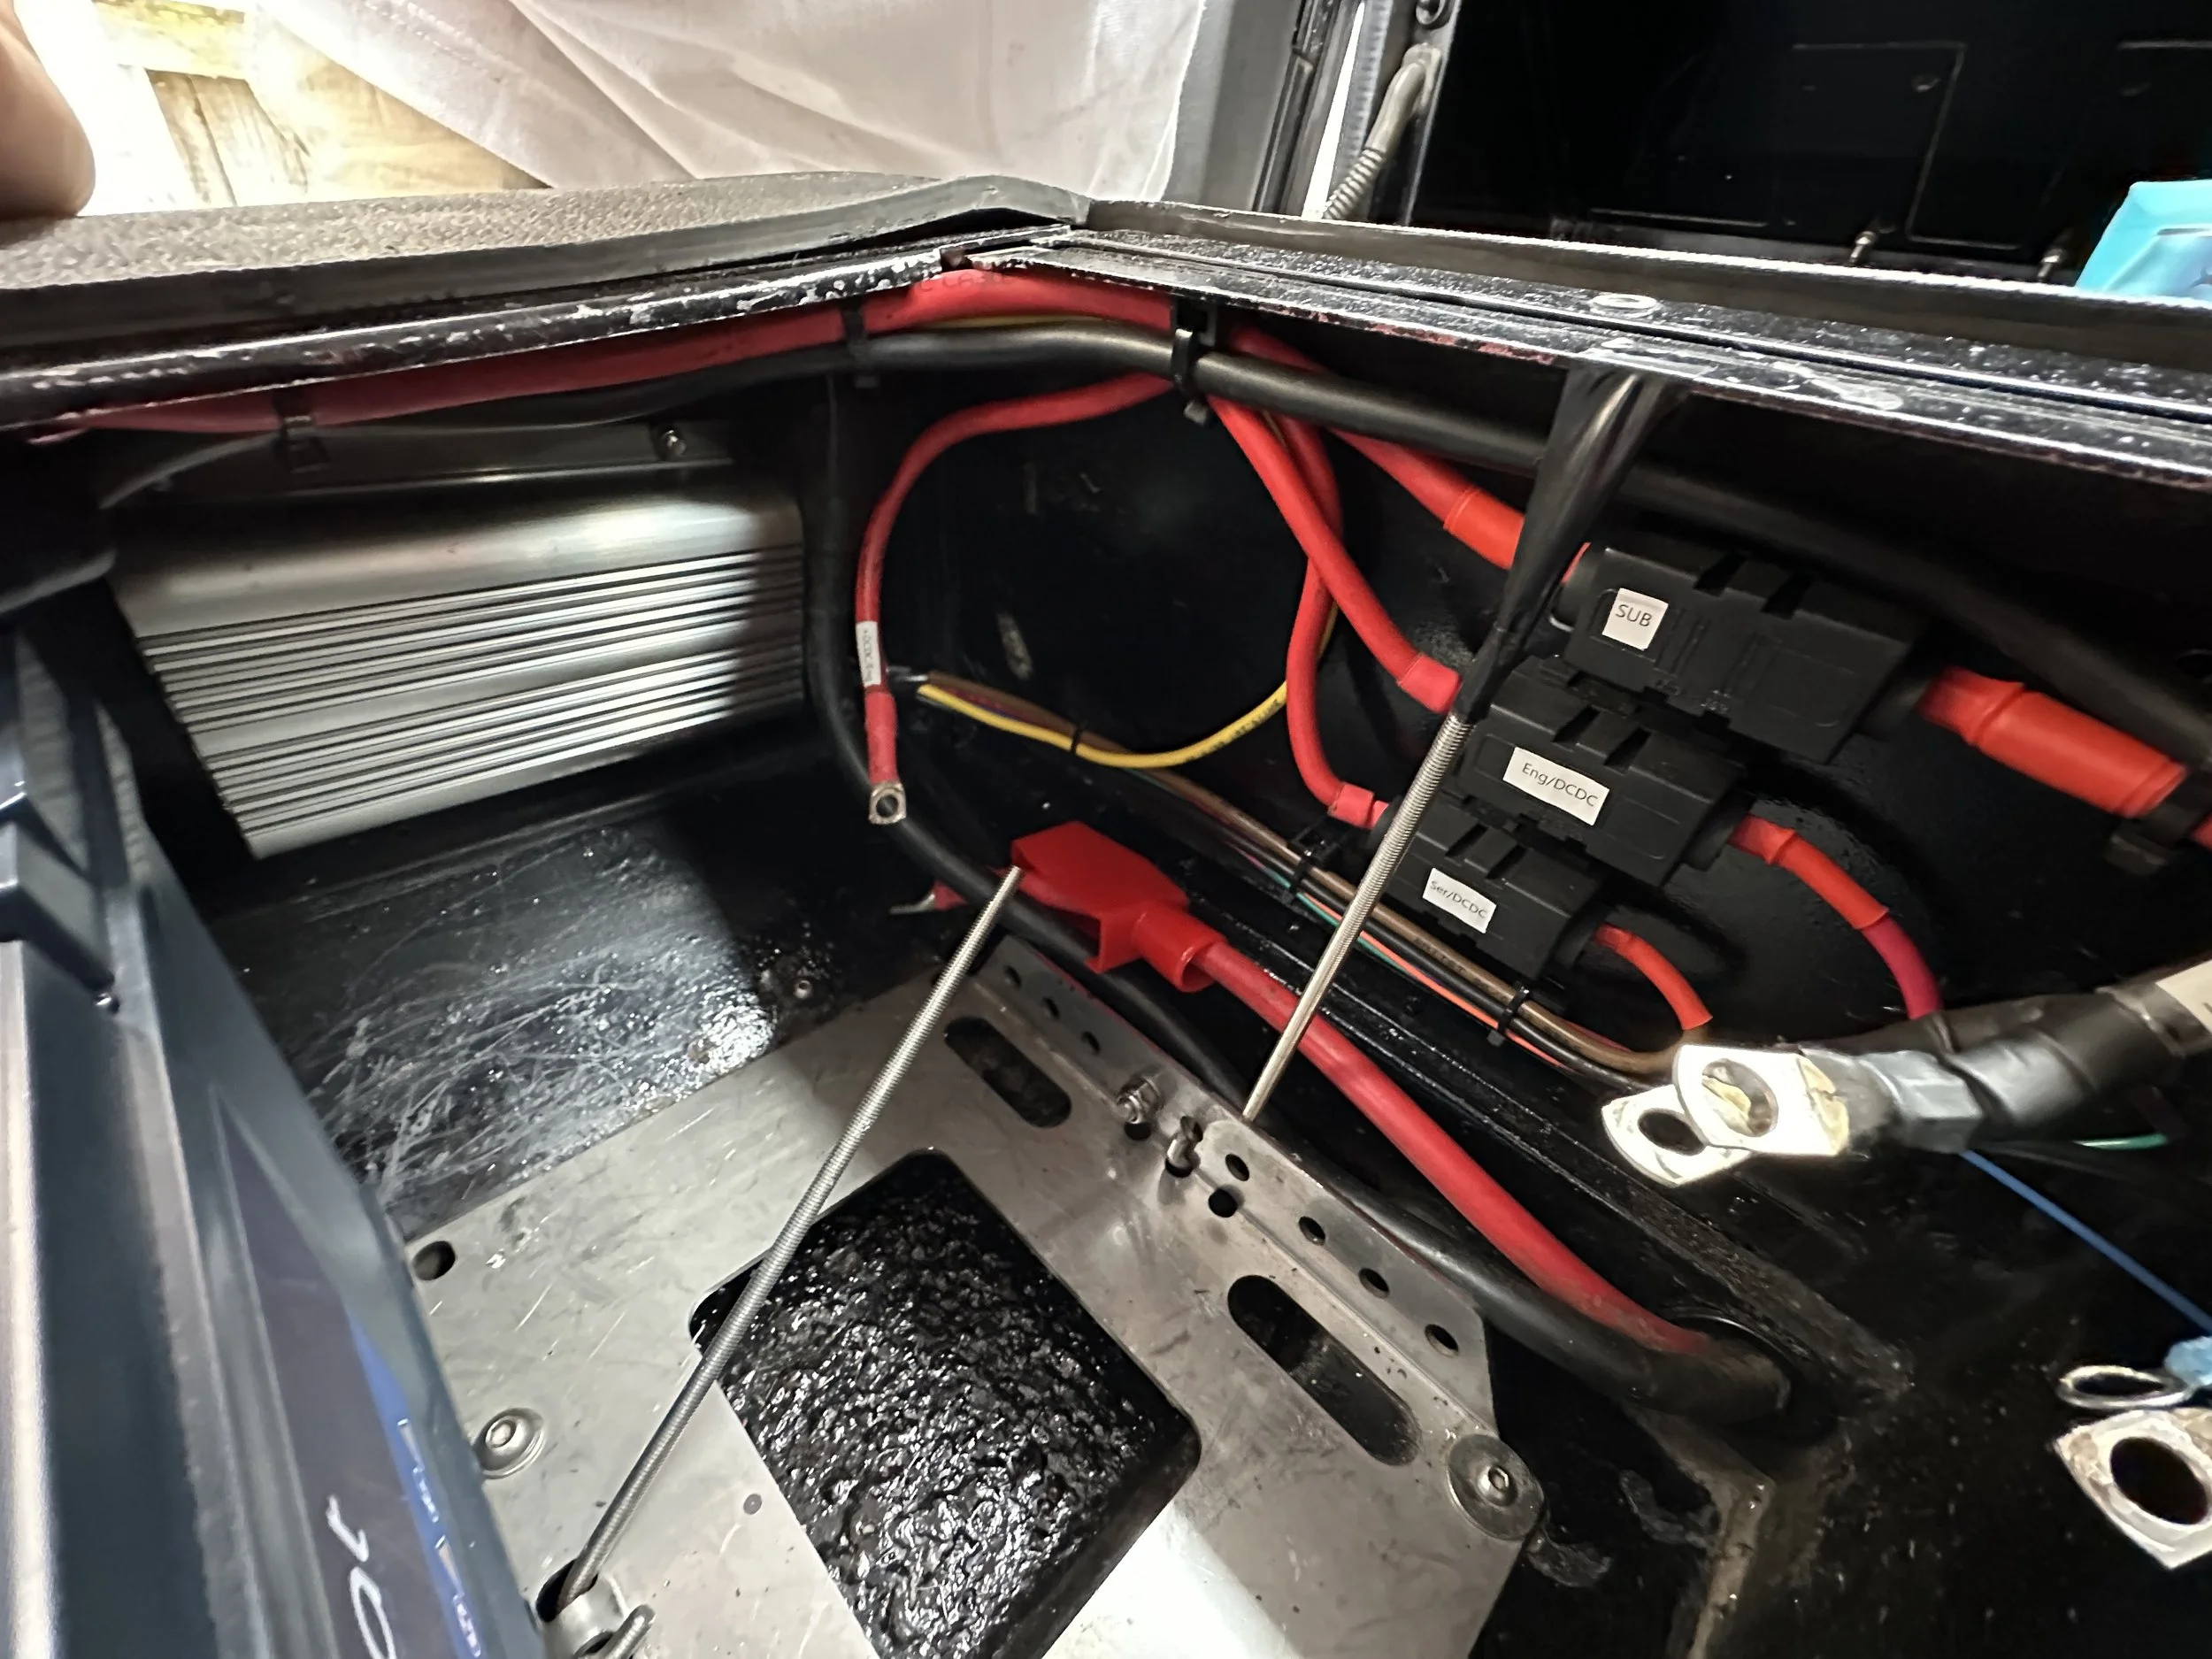
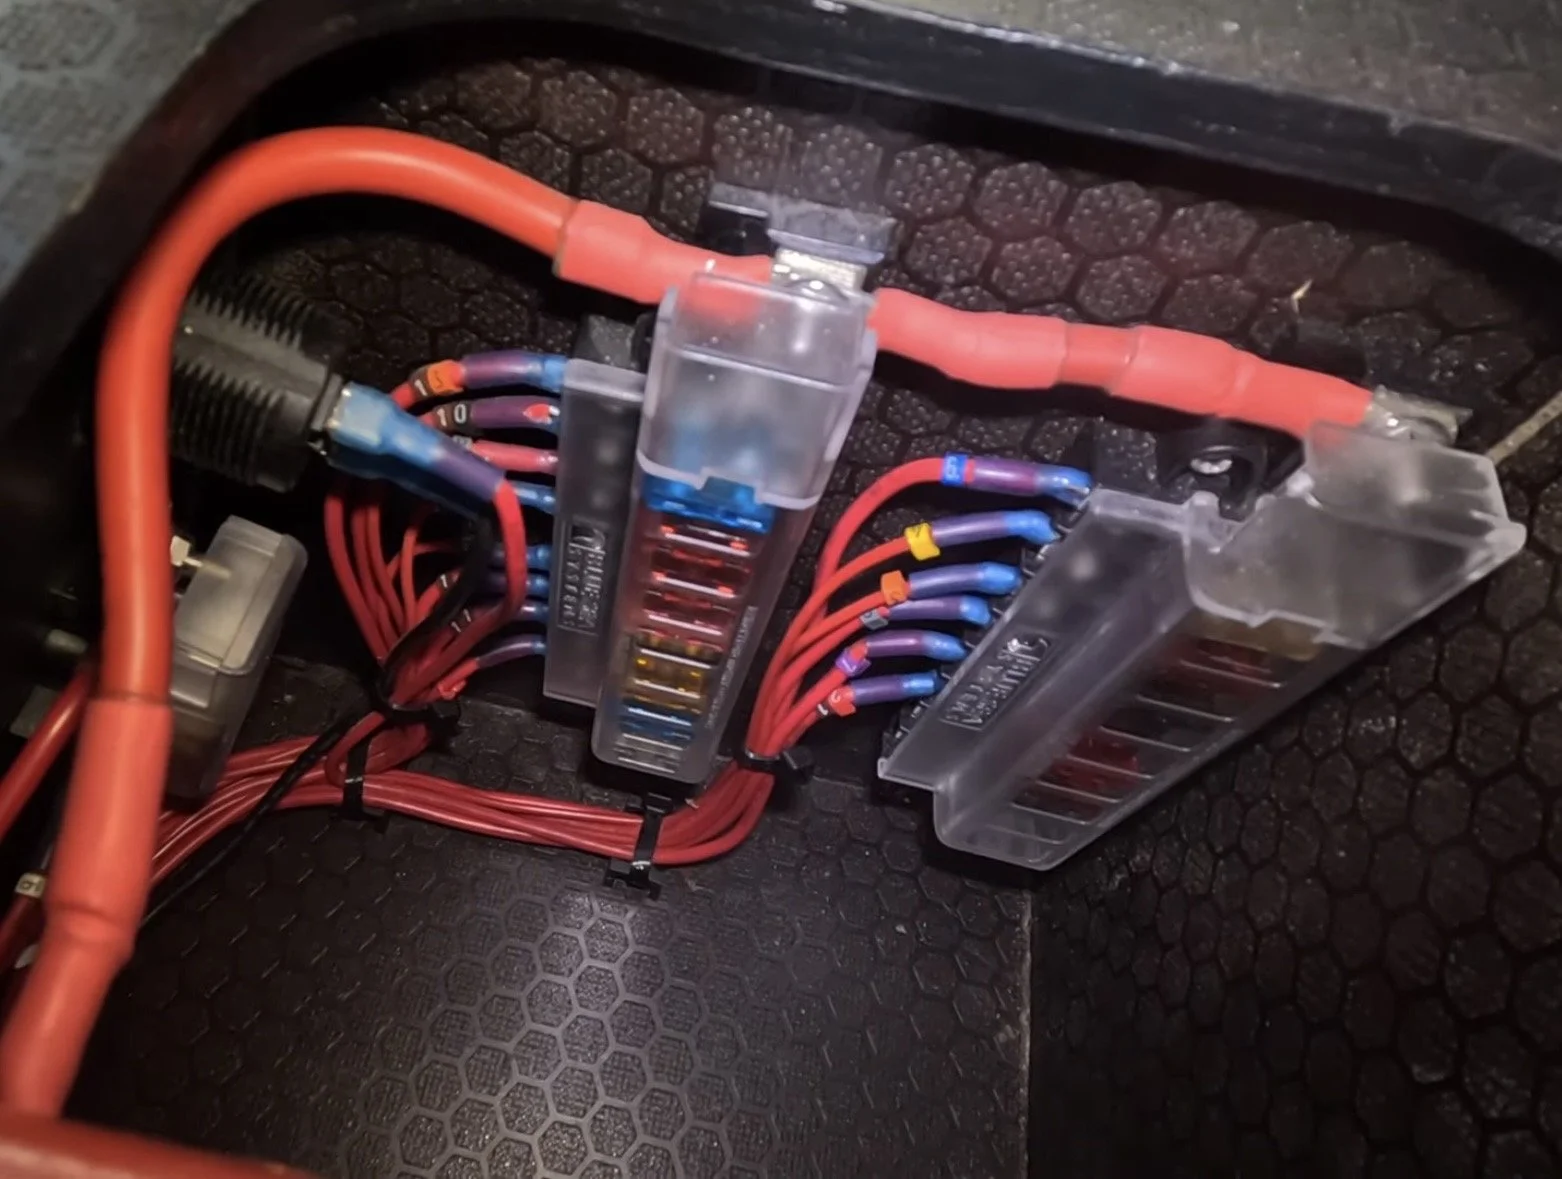
I accumulated all the components for the base system. My plan was to use the negative space in front of the drawer system as two storage lockers. The smaller locker sits behind the battery box and houses all the consumer protection and terminals, fuse blocks, isolators, bus bars, etc.
This meant I could run one large cable from the house battery into the storage box and neatly install all the fuses and protection there. From this box, separate power feeds run around the truck to their various consumers.
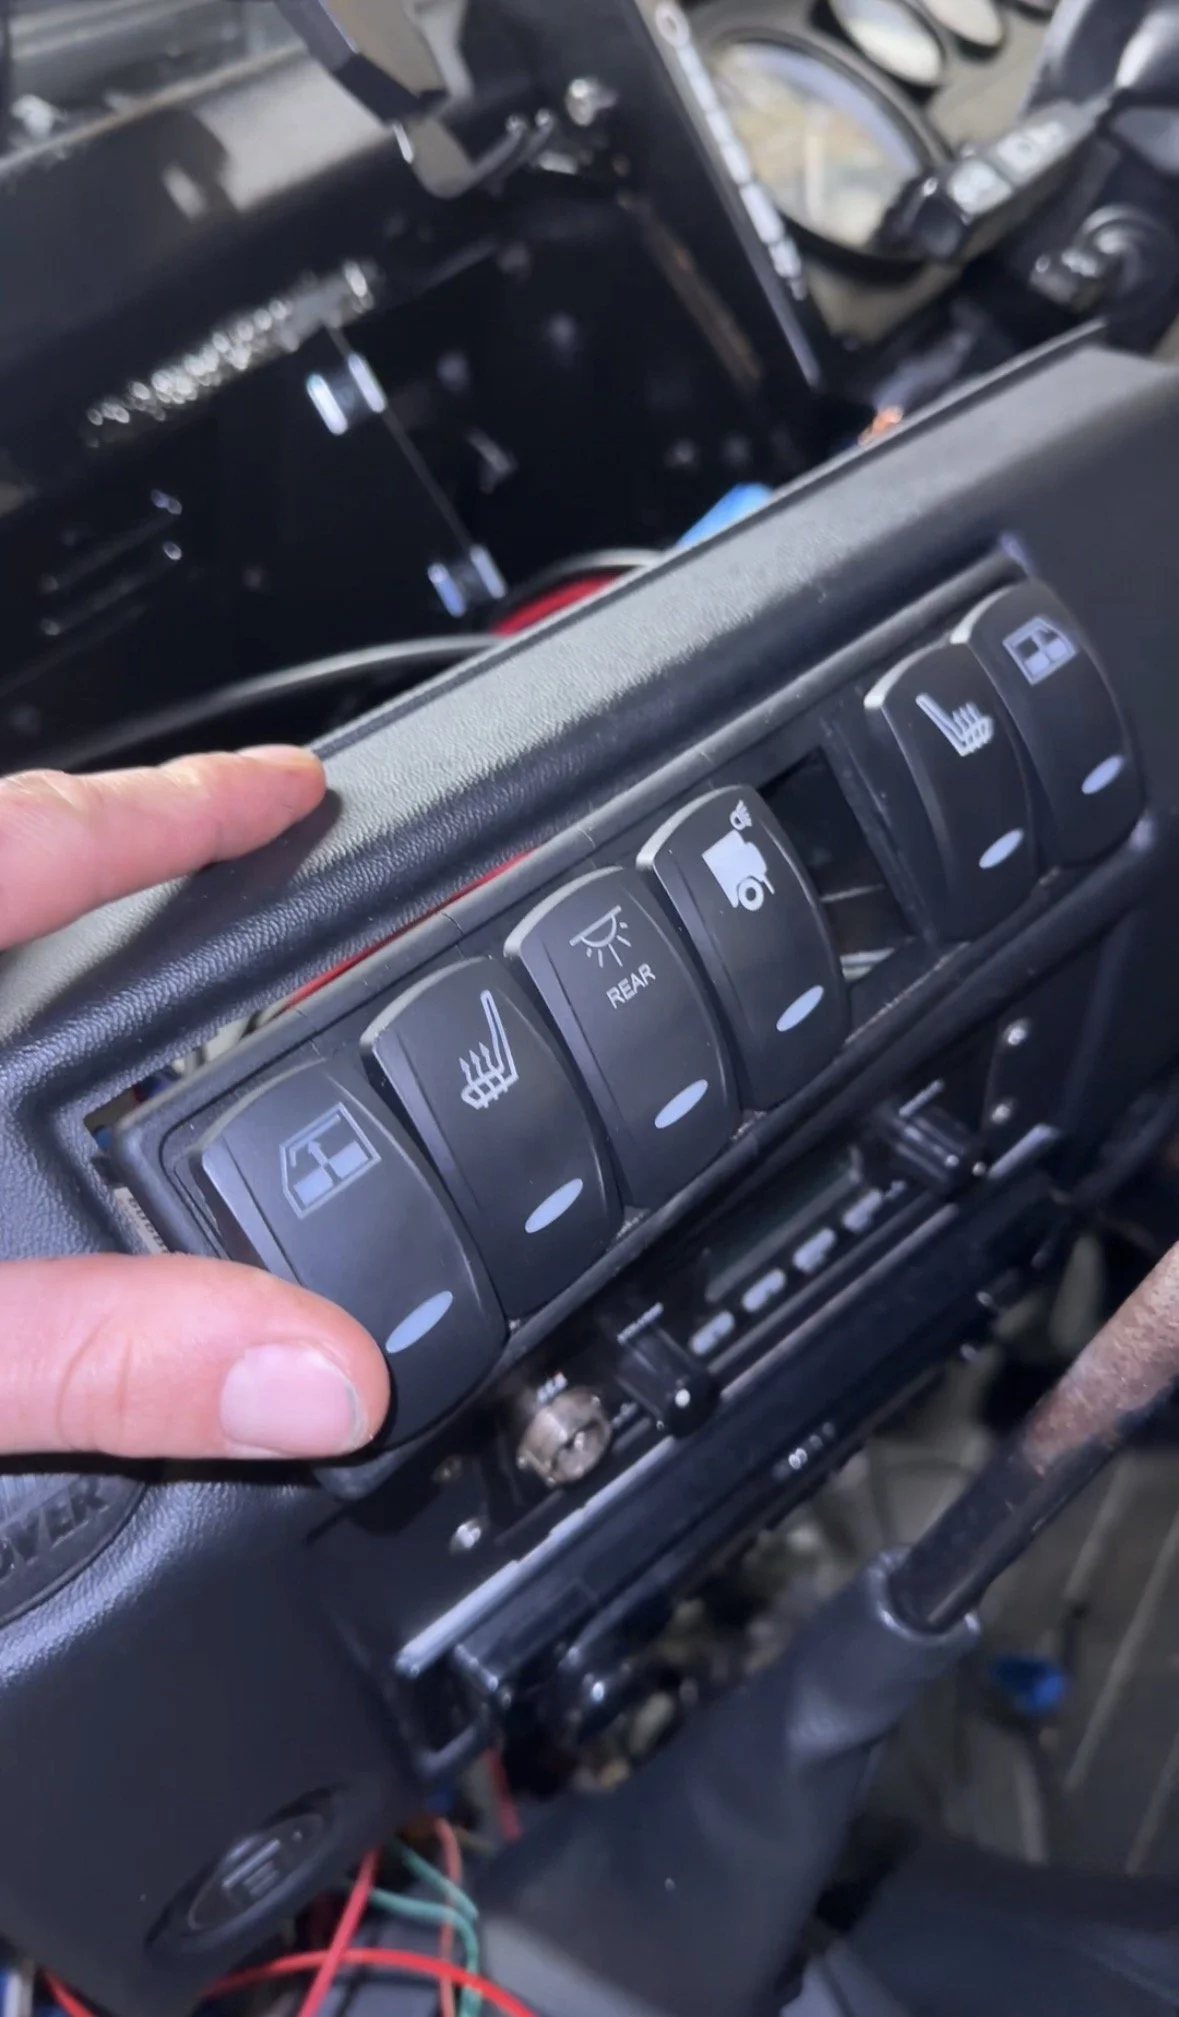
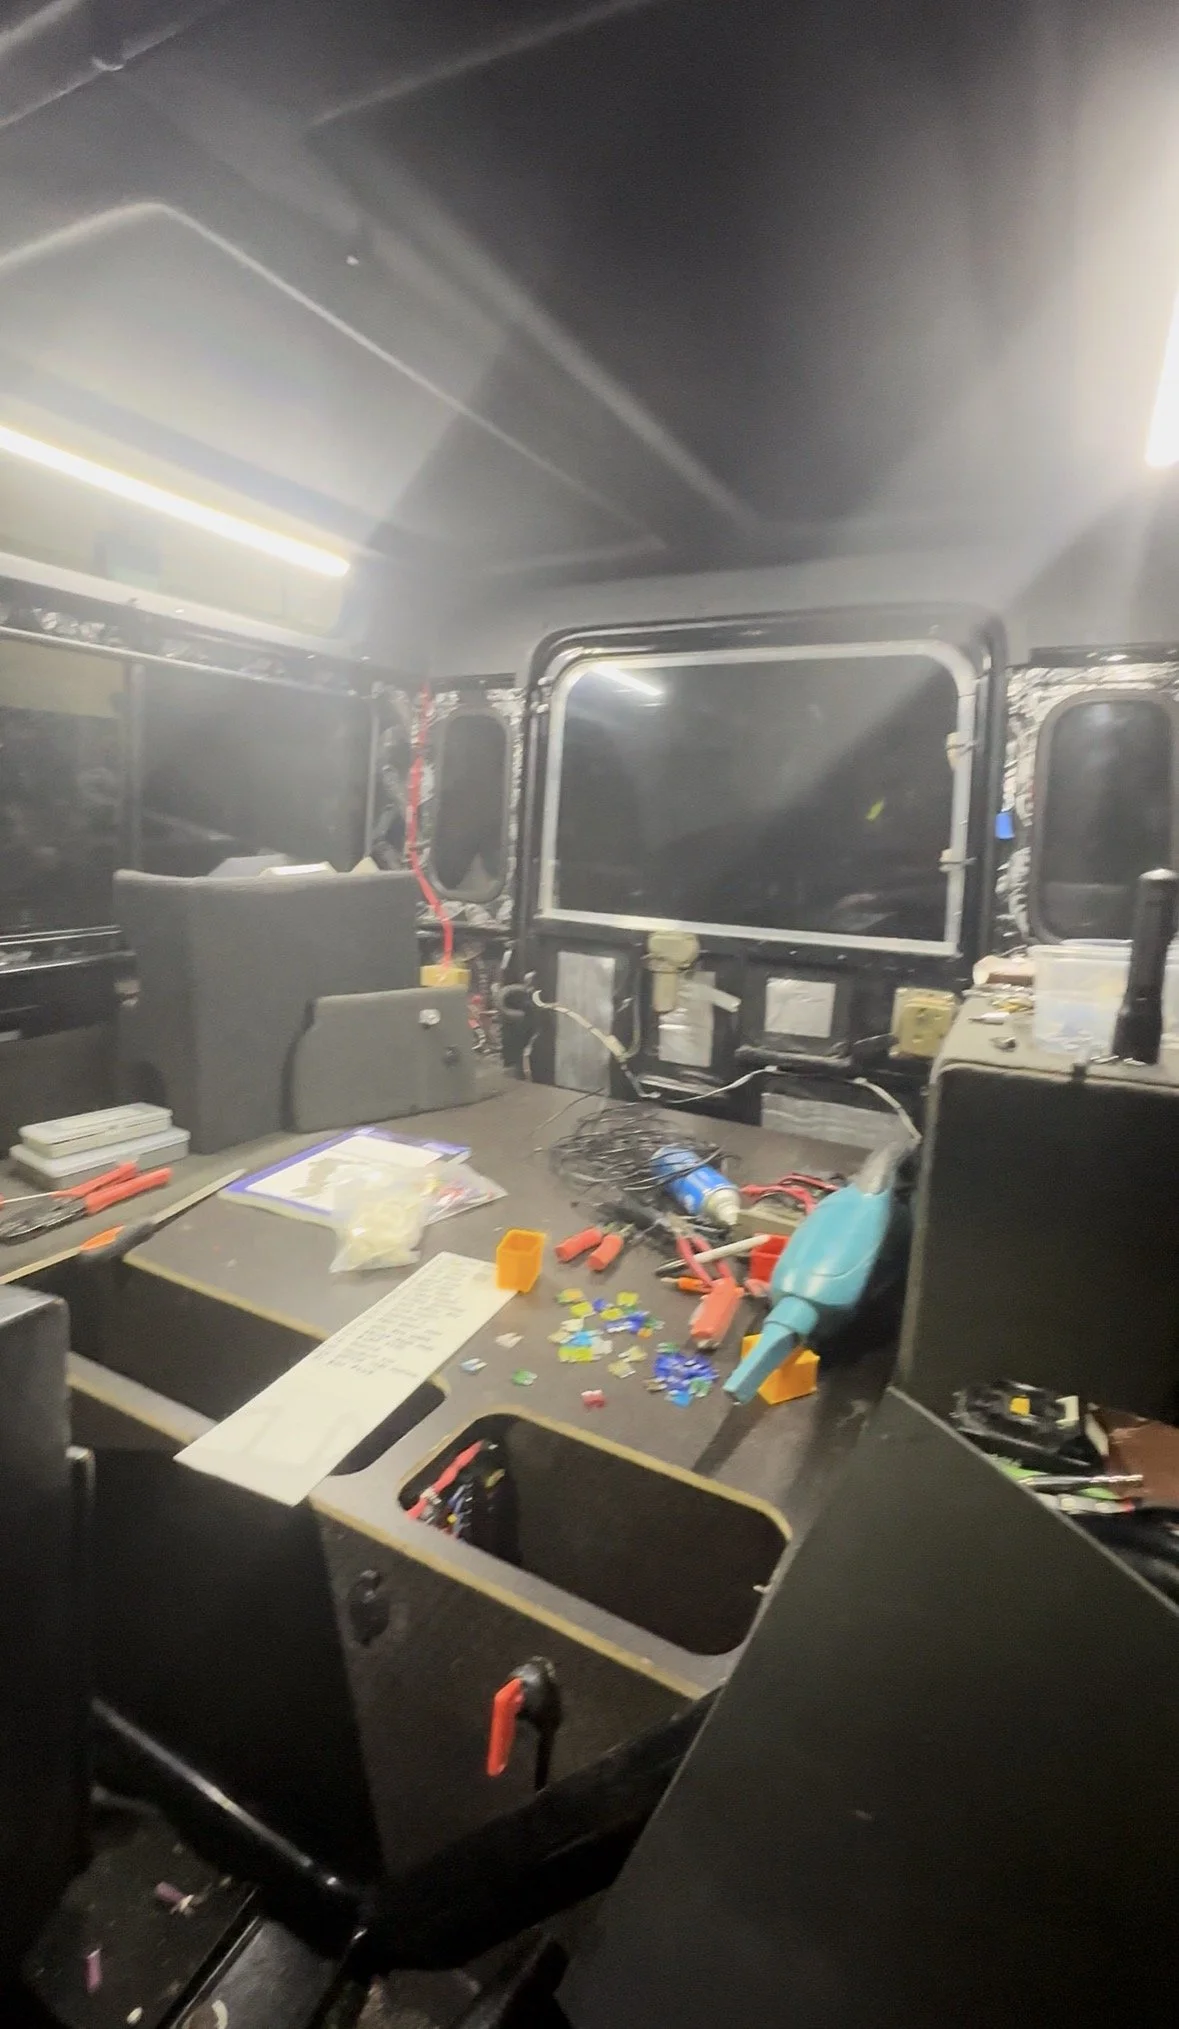
A large group of cables then run from the electrics box along the chassis, up the bulkhead, and behind the dash panel. Behind the dash, I have a negative bus bar, terminal blocks, consumers (plug sockets, stereo, etc.), and a row of 7 Carling switches for lights, windows, and other functions.
Each consumer is allocated a number and labeled on both ends of every cable. This makes it easy to identify each cable at each termination, making modifications or future additions straightforward.
I made a wiring line diagram using draw.io with all the components and their allocated numbers. This makes it easier to diagnose issues and add additional consumers in the future, as I can see where to take power from and how everything connects.
August 2025 - Lithium and Solar Upgrade:
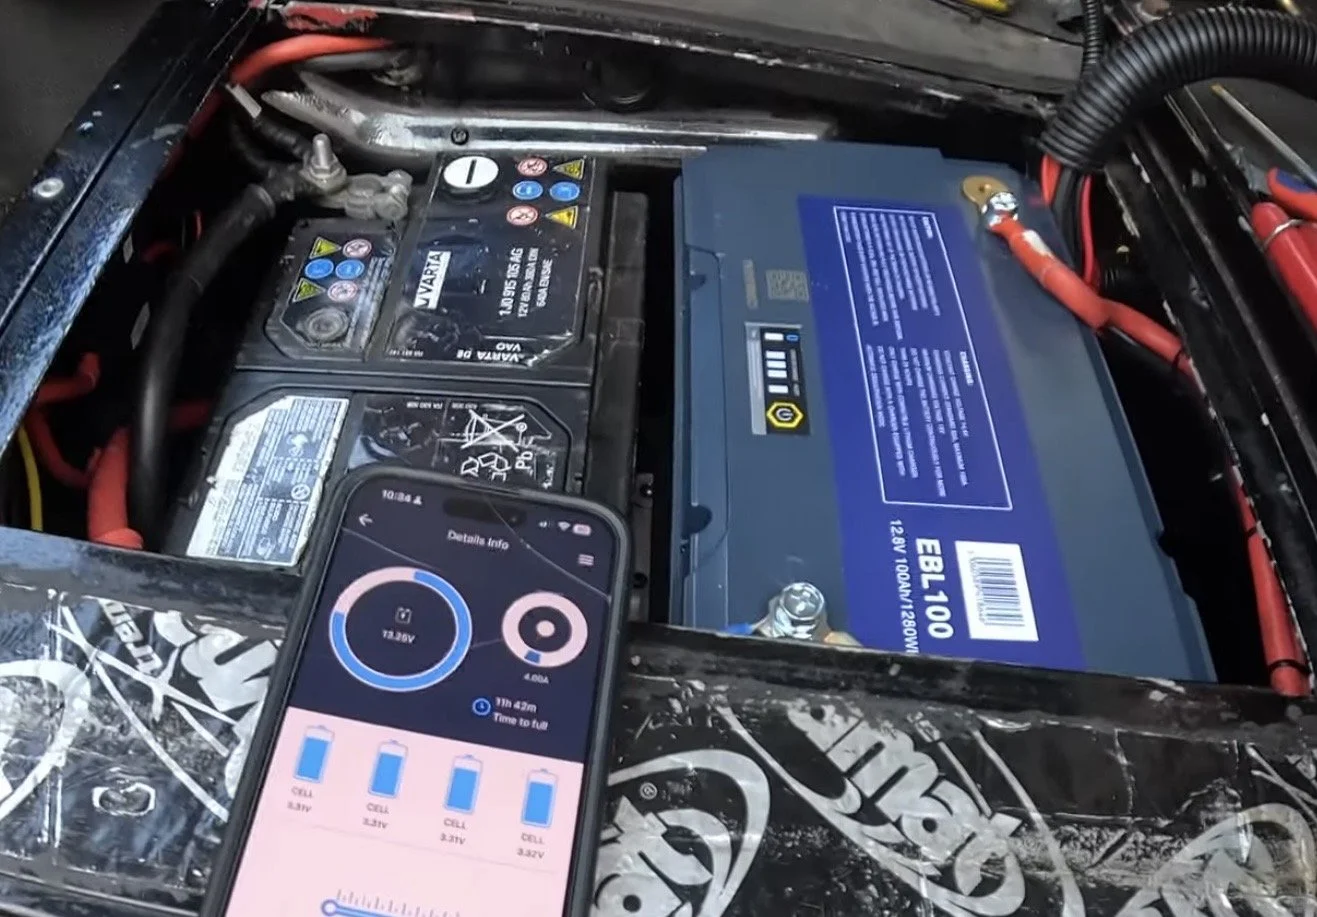
I decided to increase the system's usability by adding lithium and solar. This supercharged the setup, allowing me to properly monitor the battery state and charge it via solar while camping.
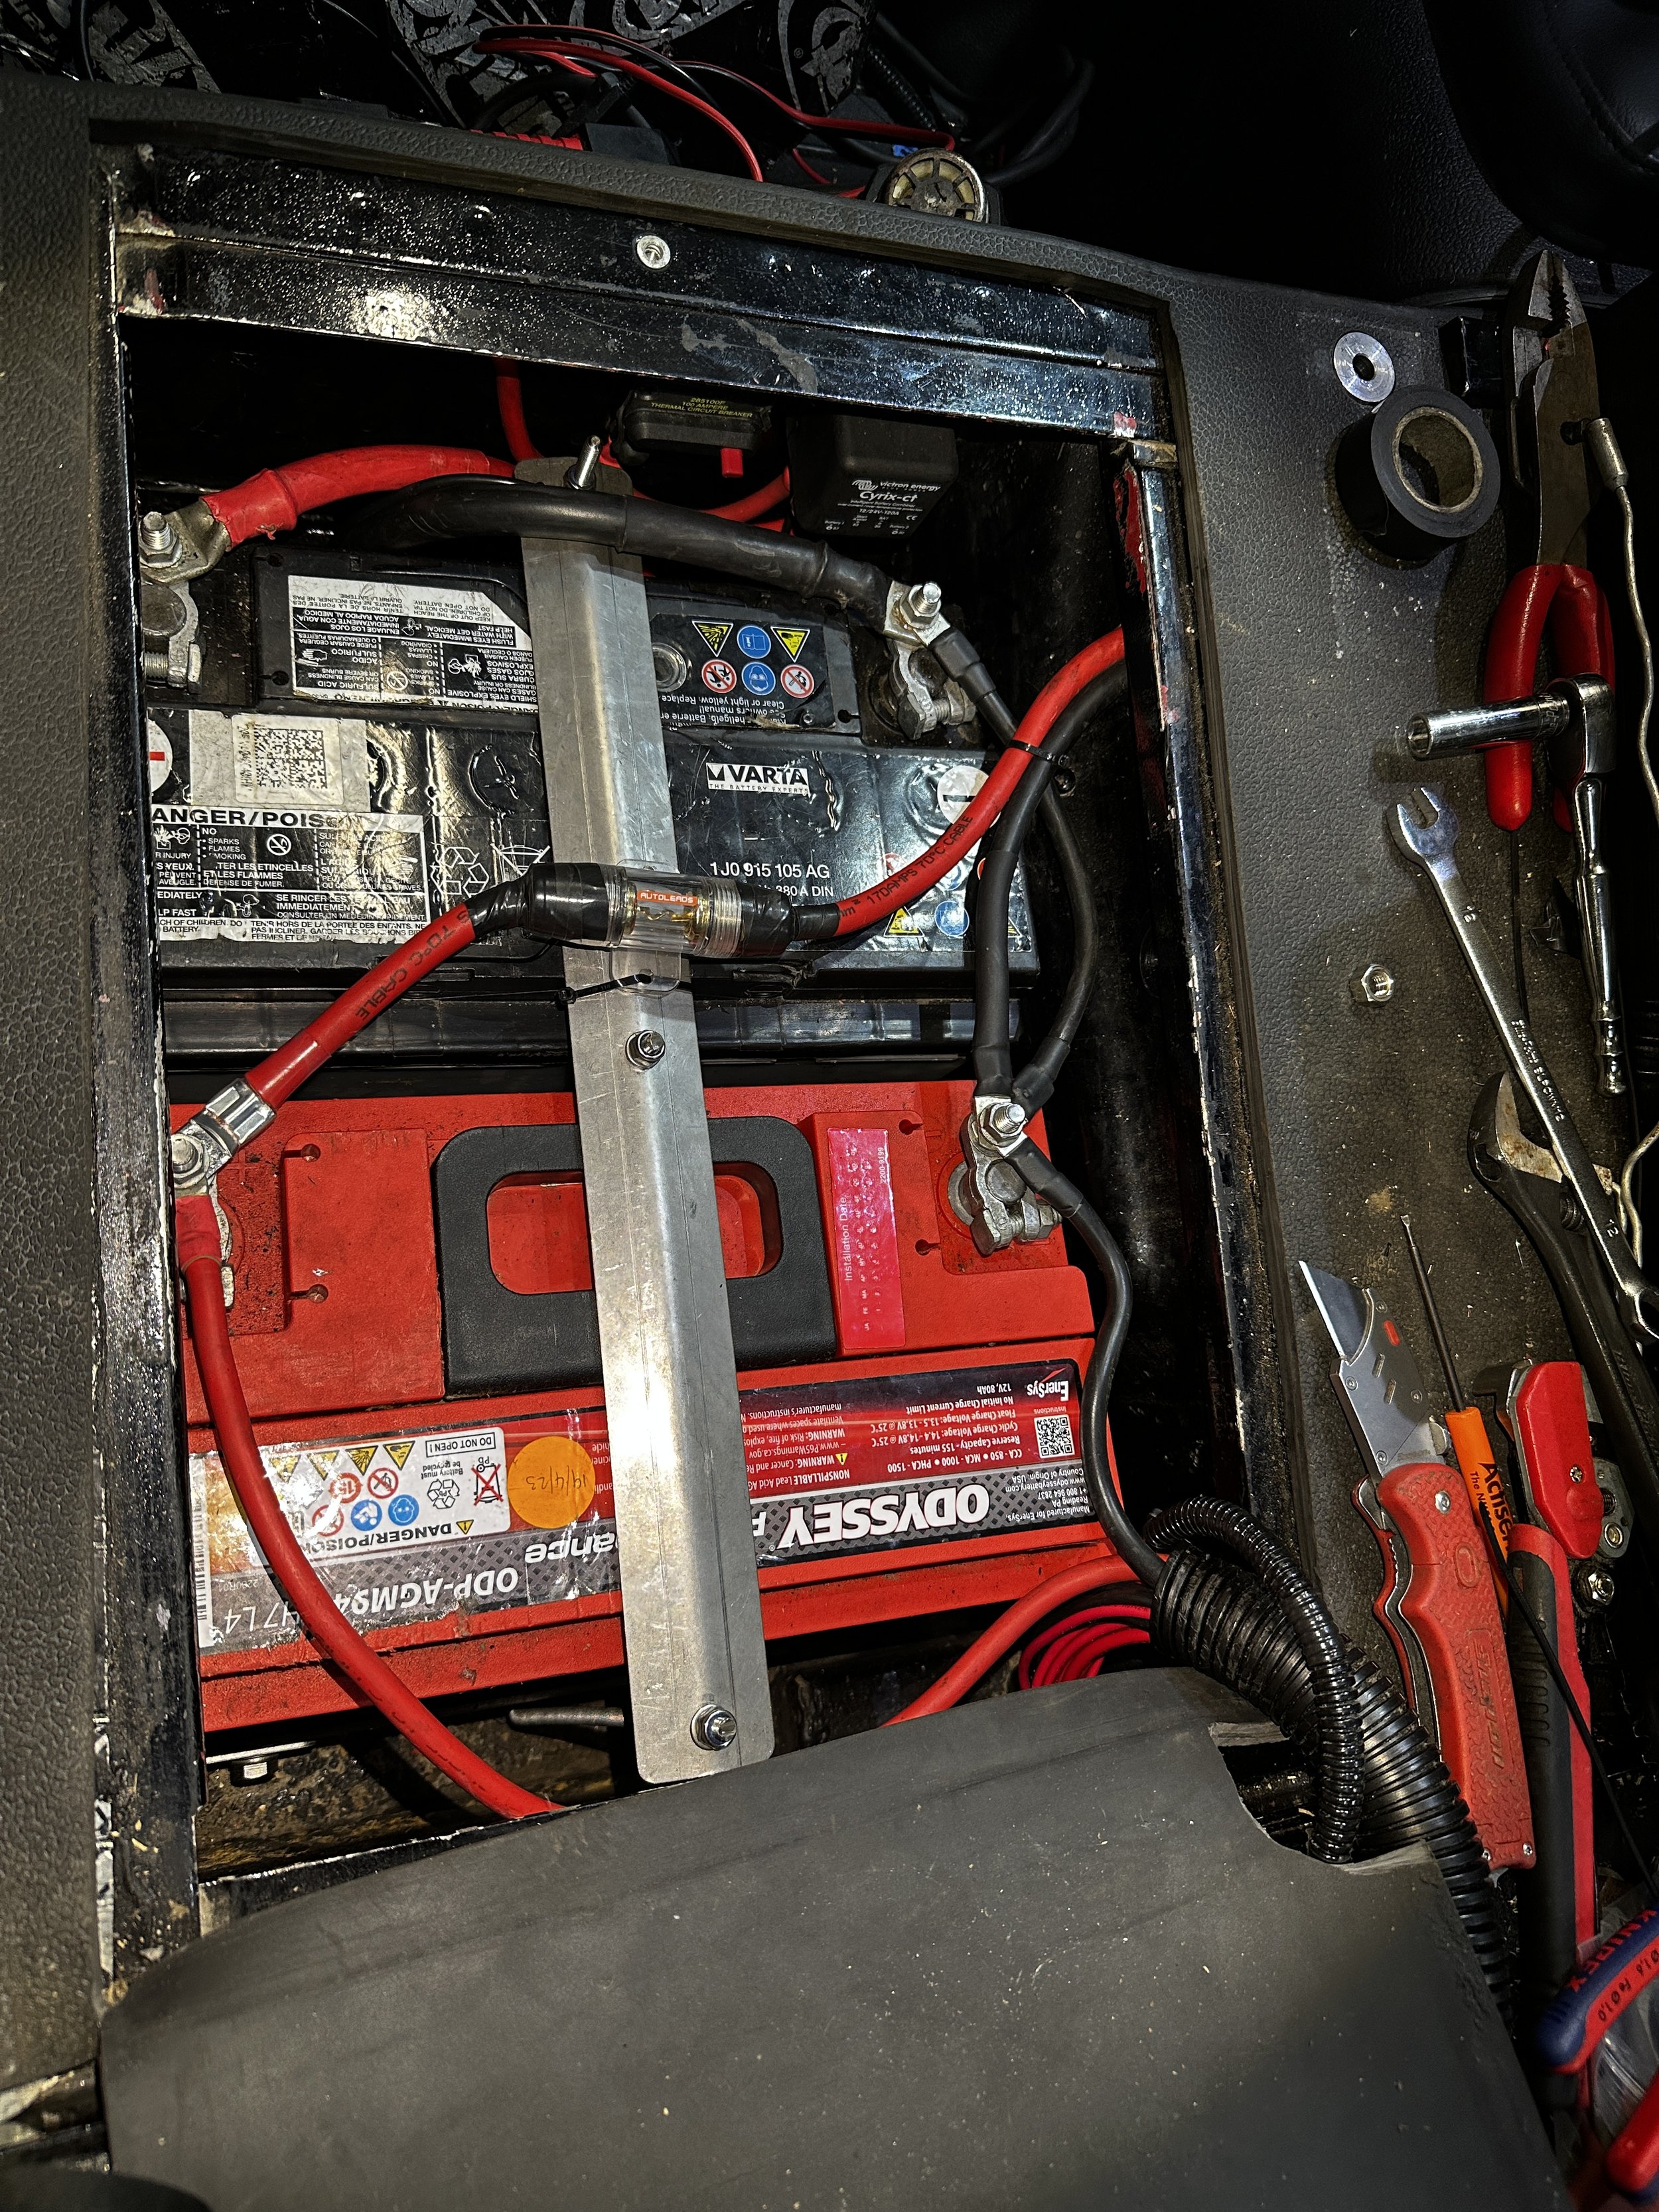
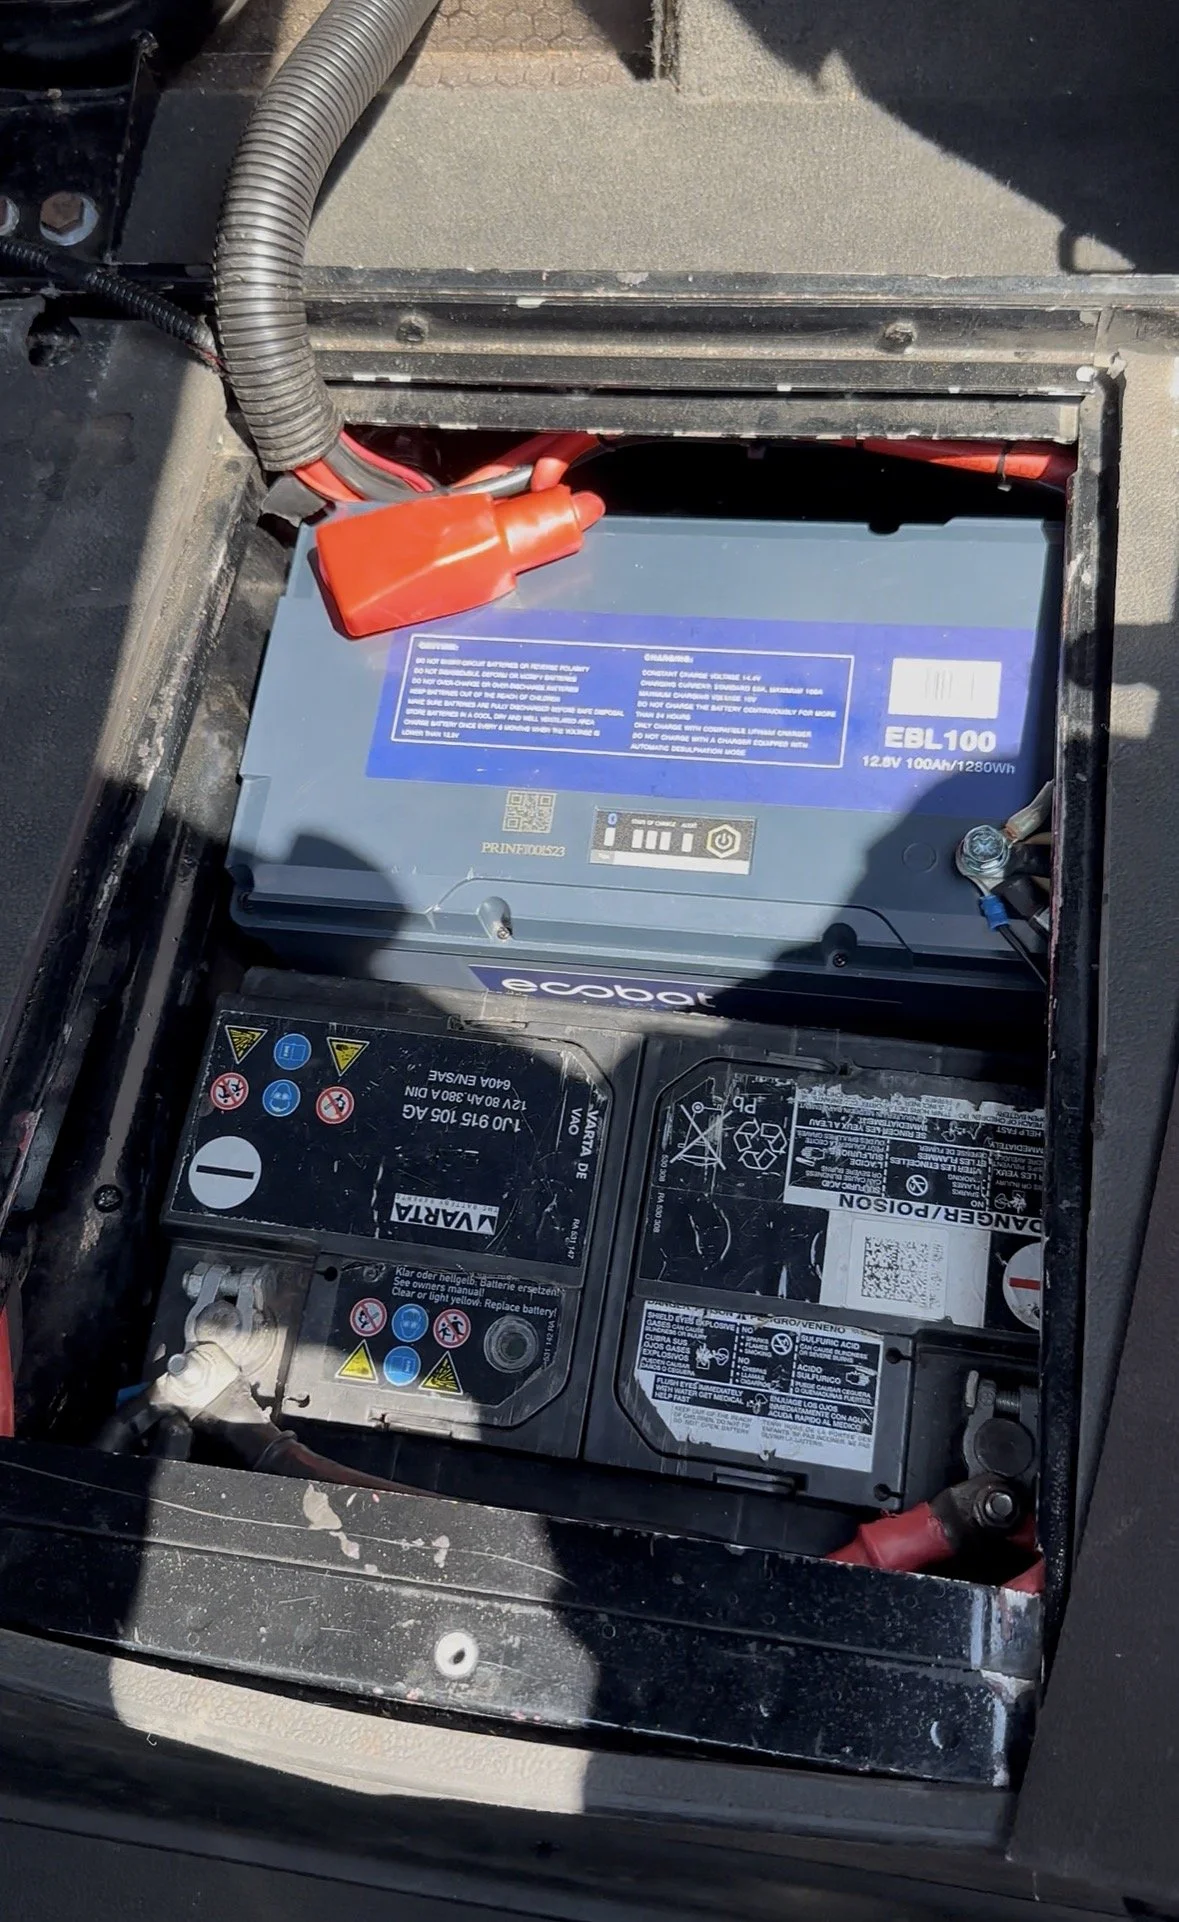
I went with a 100Ah LiFePO4 Ecobat battery with an internal BMS that connects to my phone via Bluetooth for real-time monitoring of current draw, charging, and battery state. I chose this battery because it was a direct fit into the existing battery box (previously held a 90Ah Odyssey Extreme AGM battery), meaning minimal system modification.
I also upgraded to a Redarc BCDC 25A charger to suit the LiFePO4 battery. This unit handles both solar and alternator charging in one, making it incredibly space-efficient.
For more info on the lithium and solar install, check out my YouTube video.
https://www.youtube.com/watch?v=vTkVsmo8xPk
Future Plans:
I'm planning to add more lights, plug sockets, and a compressor soon, keeping everything uniform with the existing system.